Blog
How to Use BTTB 7 Color Blend Tools for Creator
Posted on September 9, 2024

Author
BANK42n
- blog
- bttb7
- sims4
- skin
Welcome to the BTTB 7 Skin Converter Guide
Hello evryone! It's BANK42n here and today we will talk about BTTB 7's texture system and how to make other skins from other creator work with BTTB7.
First off, why?
BTTB penises have different UVmap from orignal Wickedwhim's penises, which I decide to make it this way I could utilize more UV space in the game result in better texture quality at the same texture resolution.
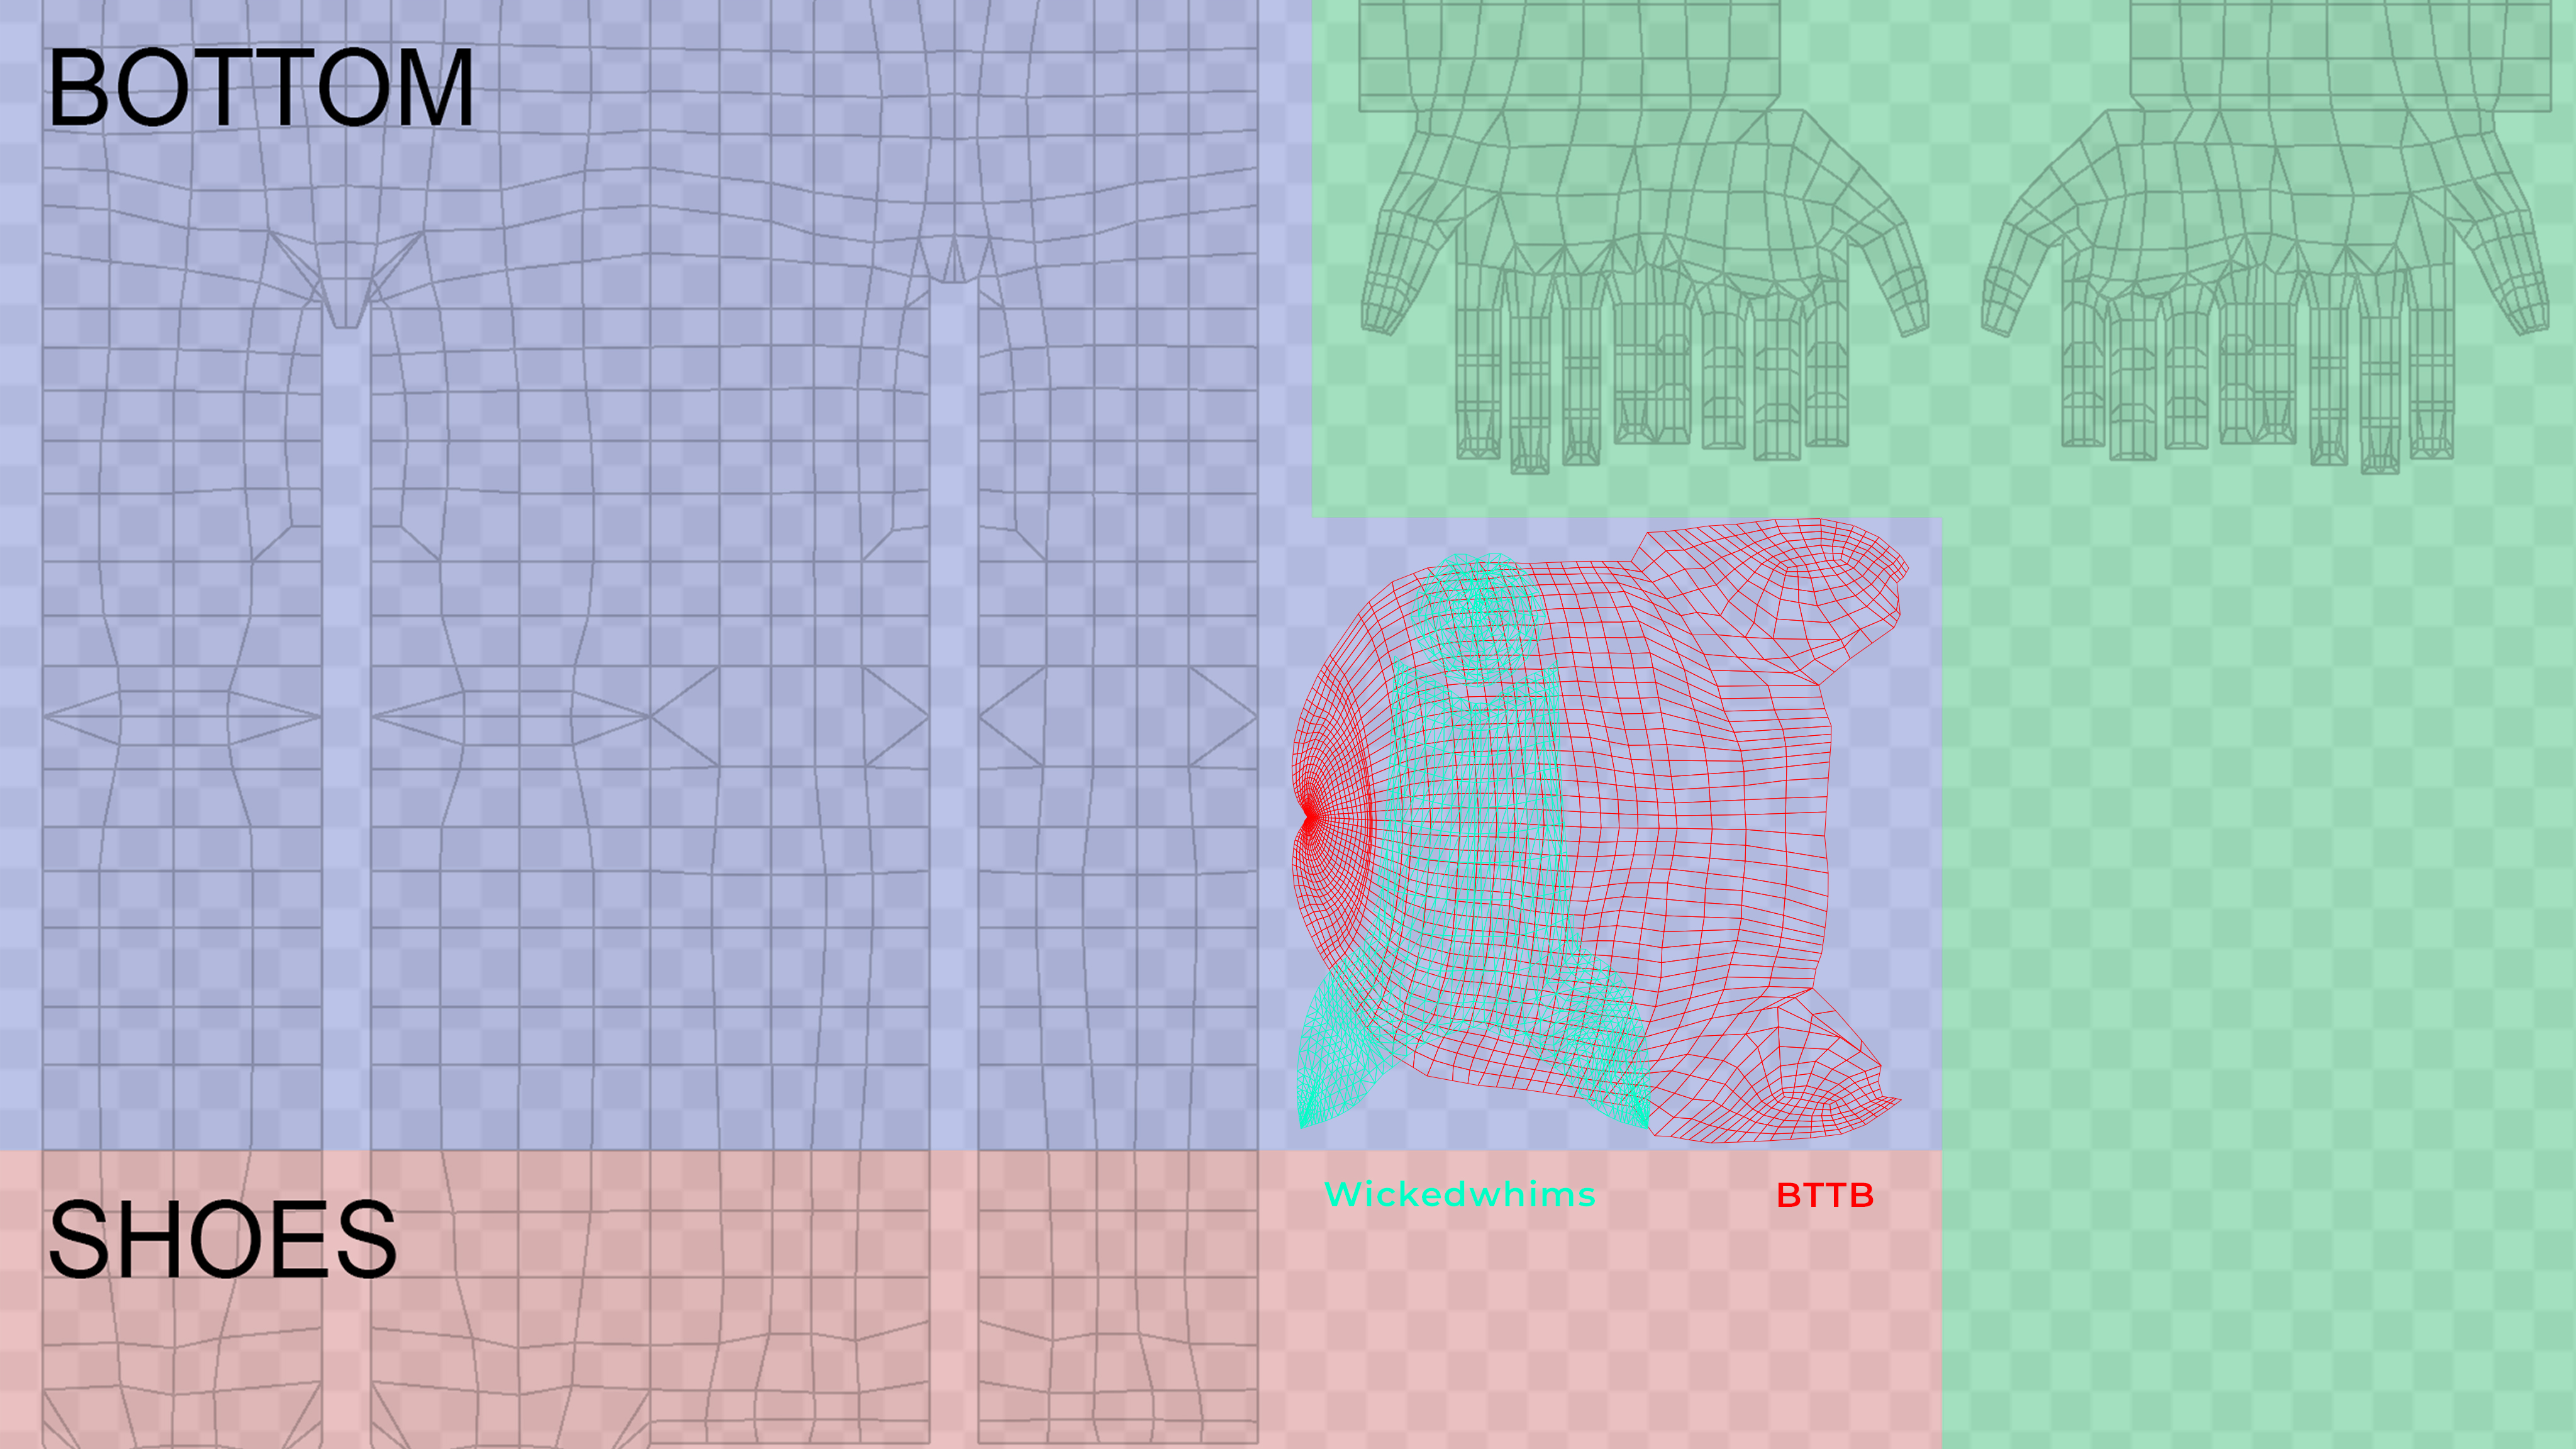
So, these are the steps to convert your skin to support BTTB 7.
Requirements
- Blender 4.2 or any version that supports EEVEE
- Sims 4 Studio
Step 1: Determine the Original Skin Type and Decide on the Conversion Method
- Determine the original skin type: Check if your skin has pubic hair or not. The
.blendfiles provided have two options: "No Pubic Hair" and "Pubic Hair". Use the correct one based on your skin's characteristics. - Choose the conversion method:
- Full Skin: This method will replace your original skin with a BTTB 7 supported skin. Recommended if you want to replace your original skin entirely.
- Masked: This method will output only the penis area, which can be used as a tattoo in-game. Choose this option if you want to keep your original skin and add the BTTB 7 support as a tattoo.
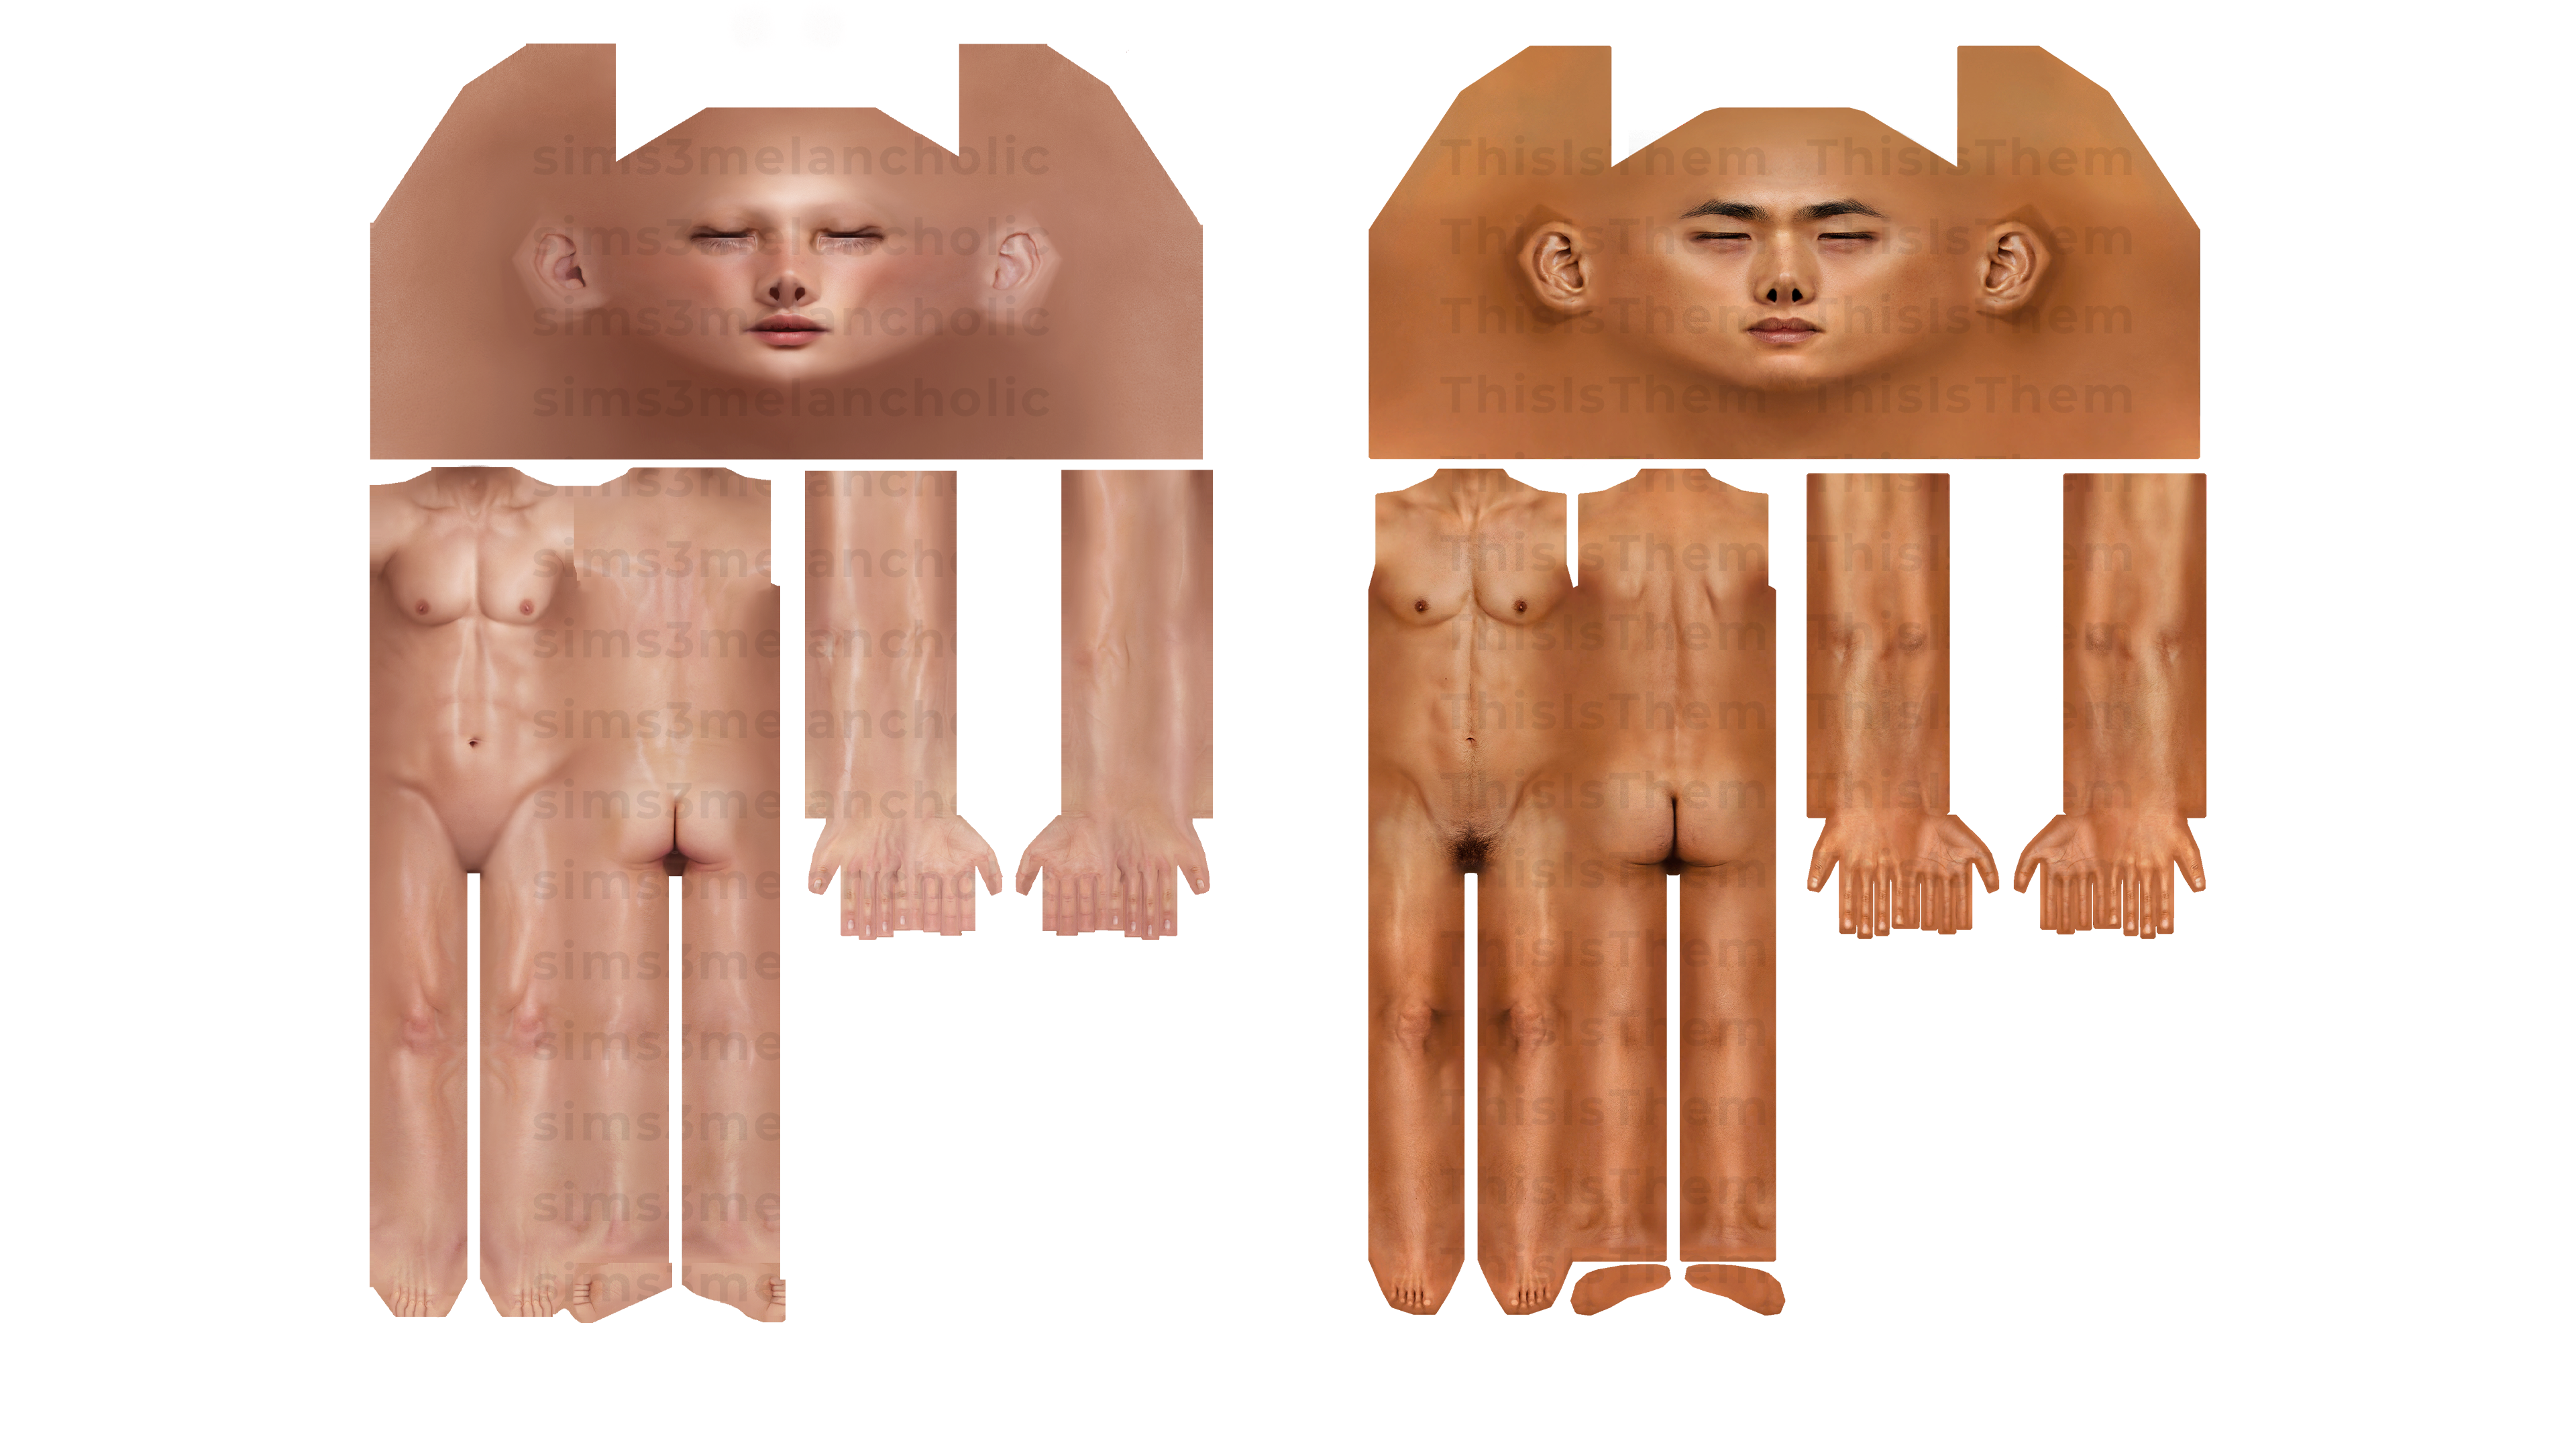
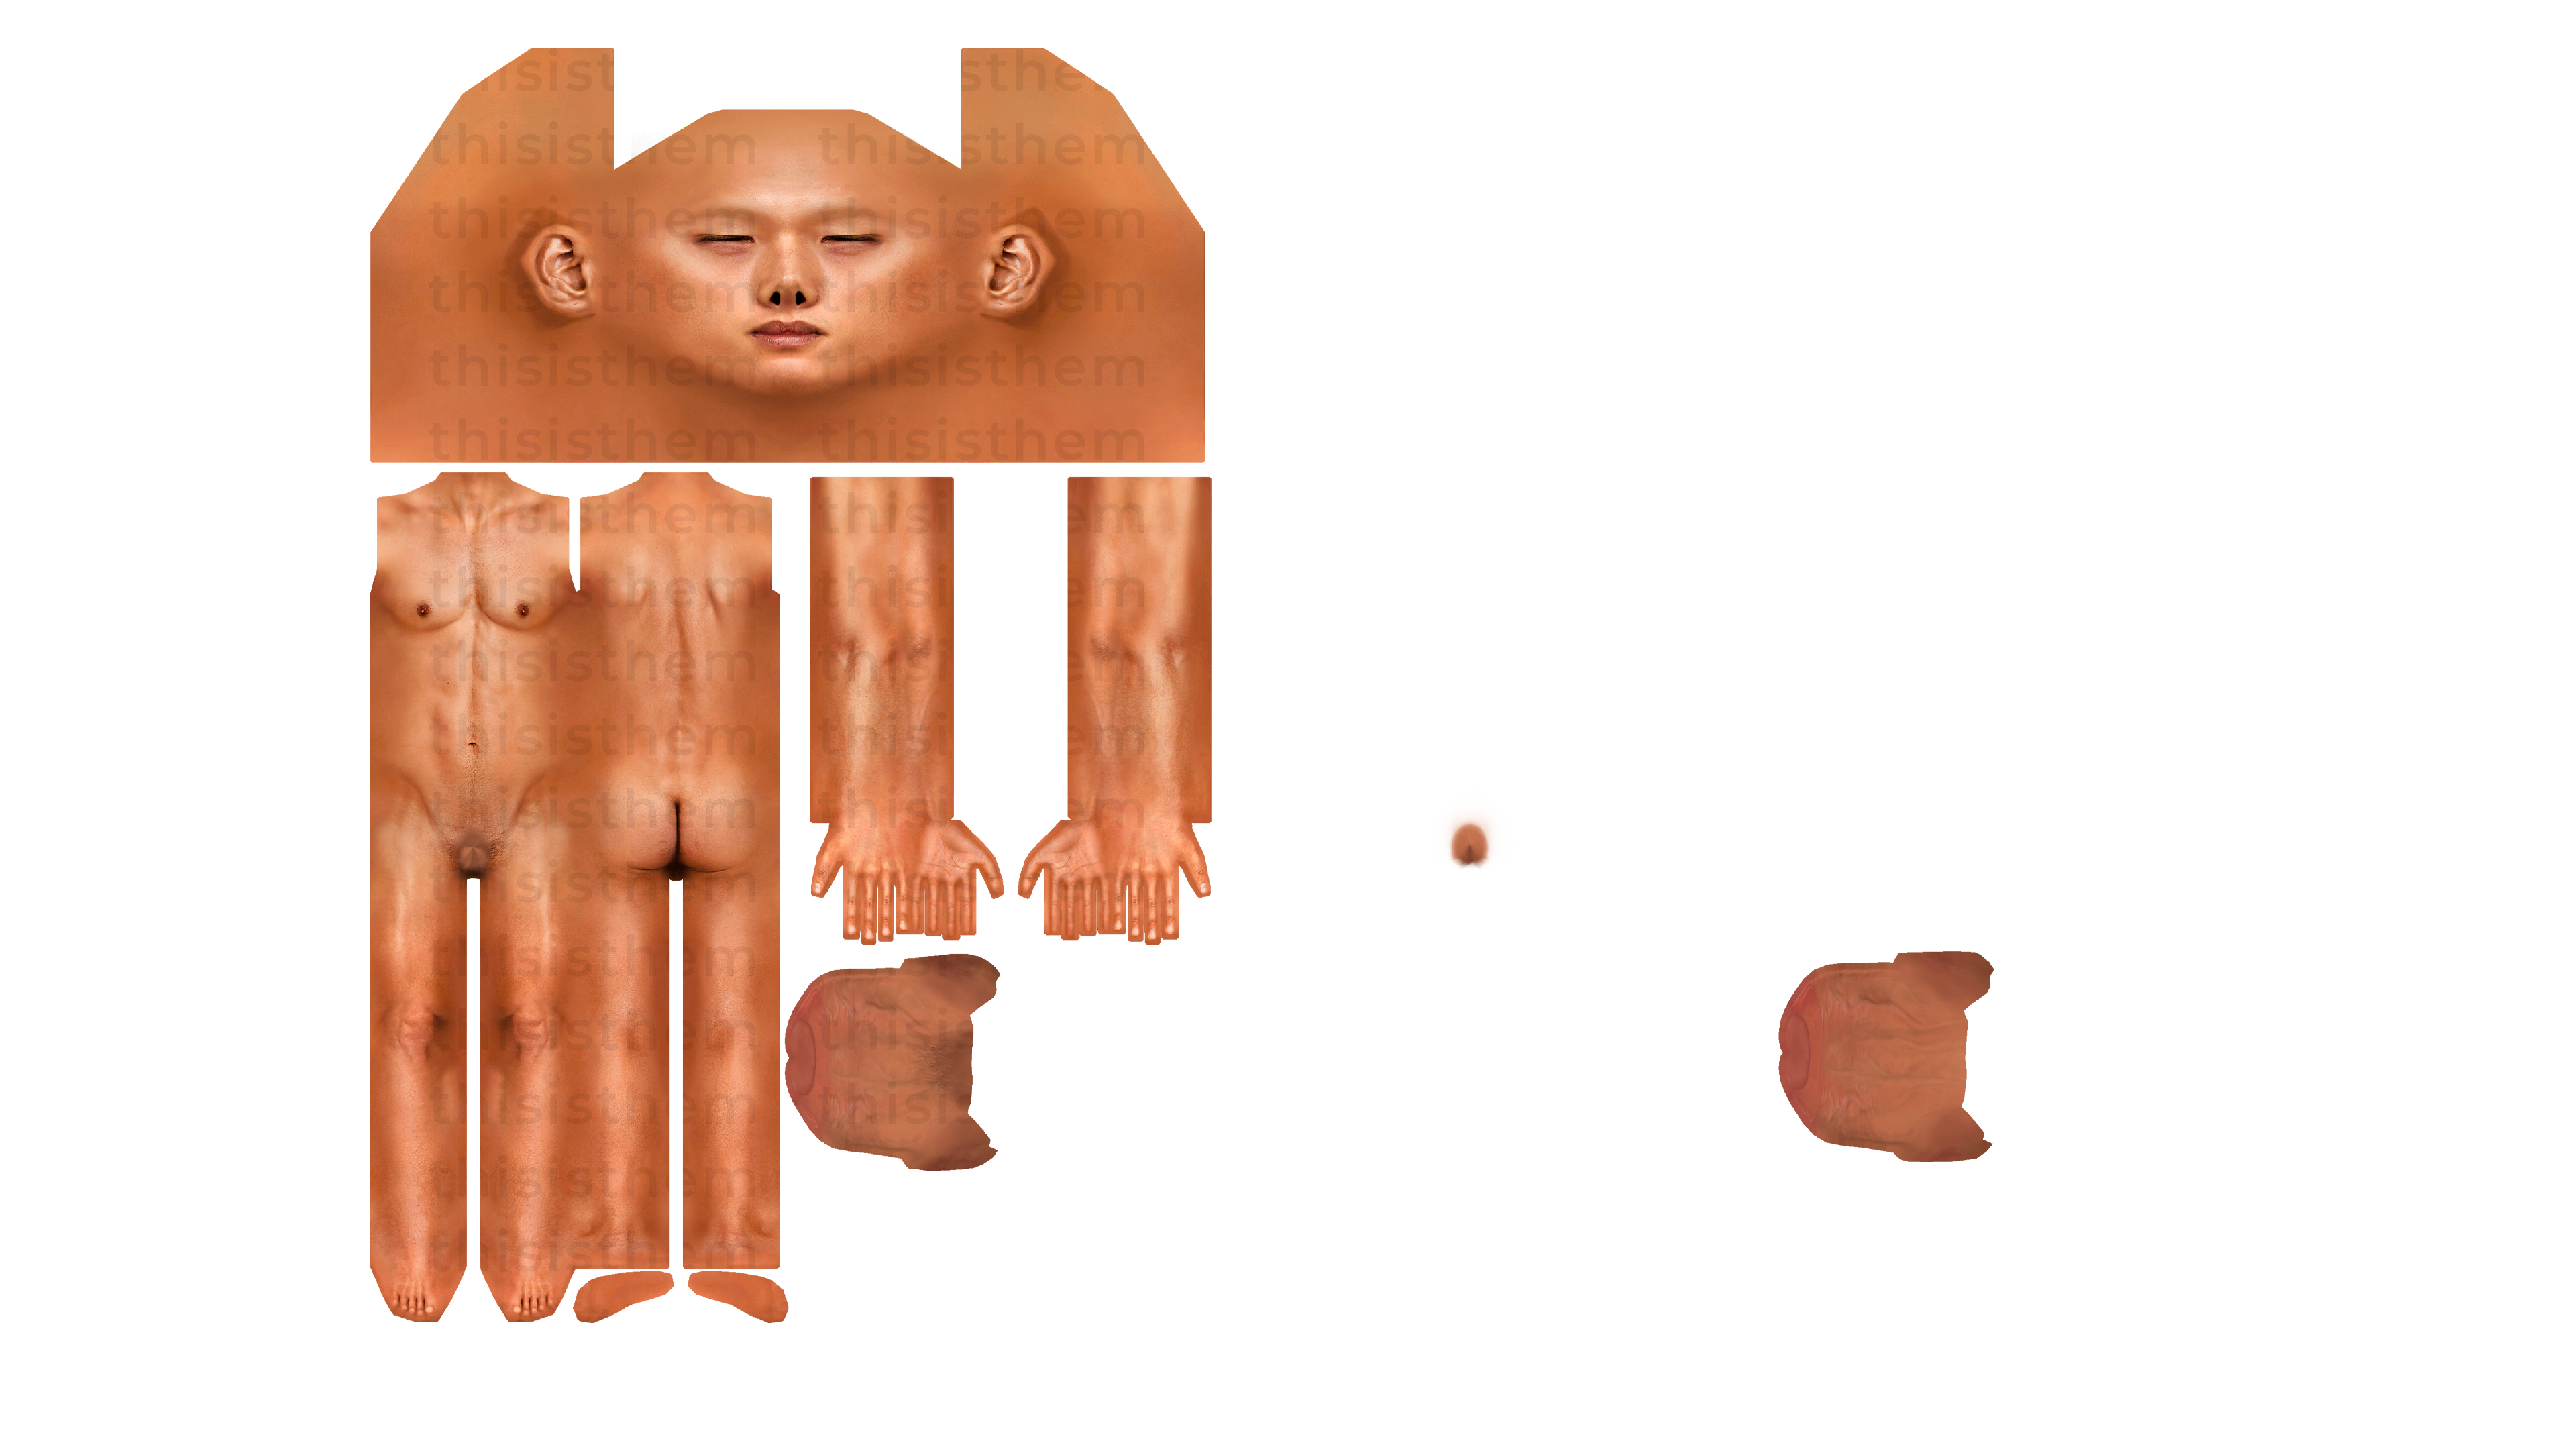
Step 2: Create a Project Folder
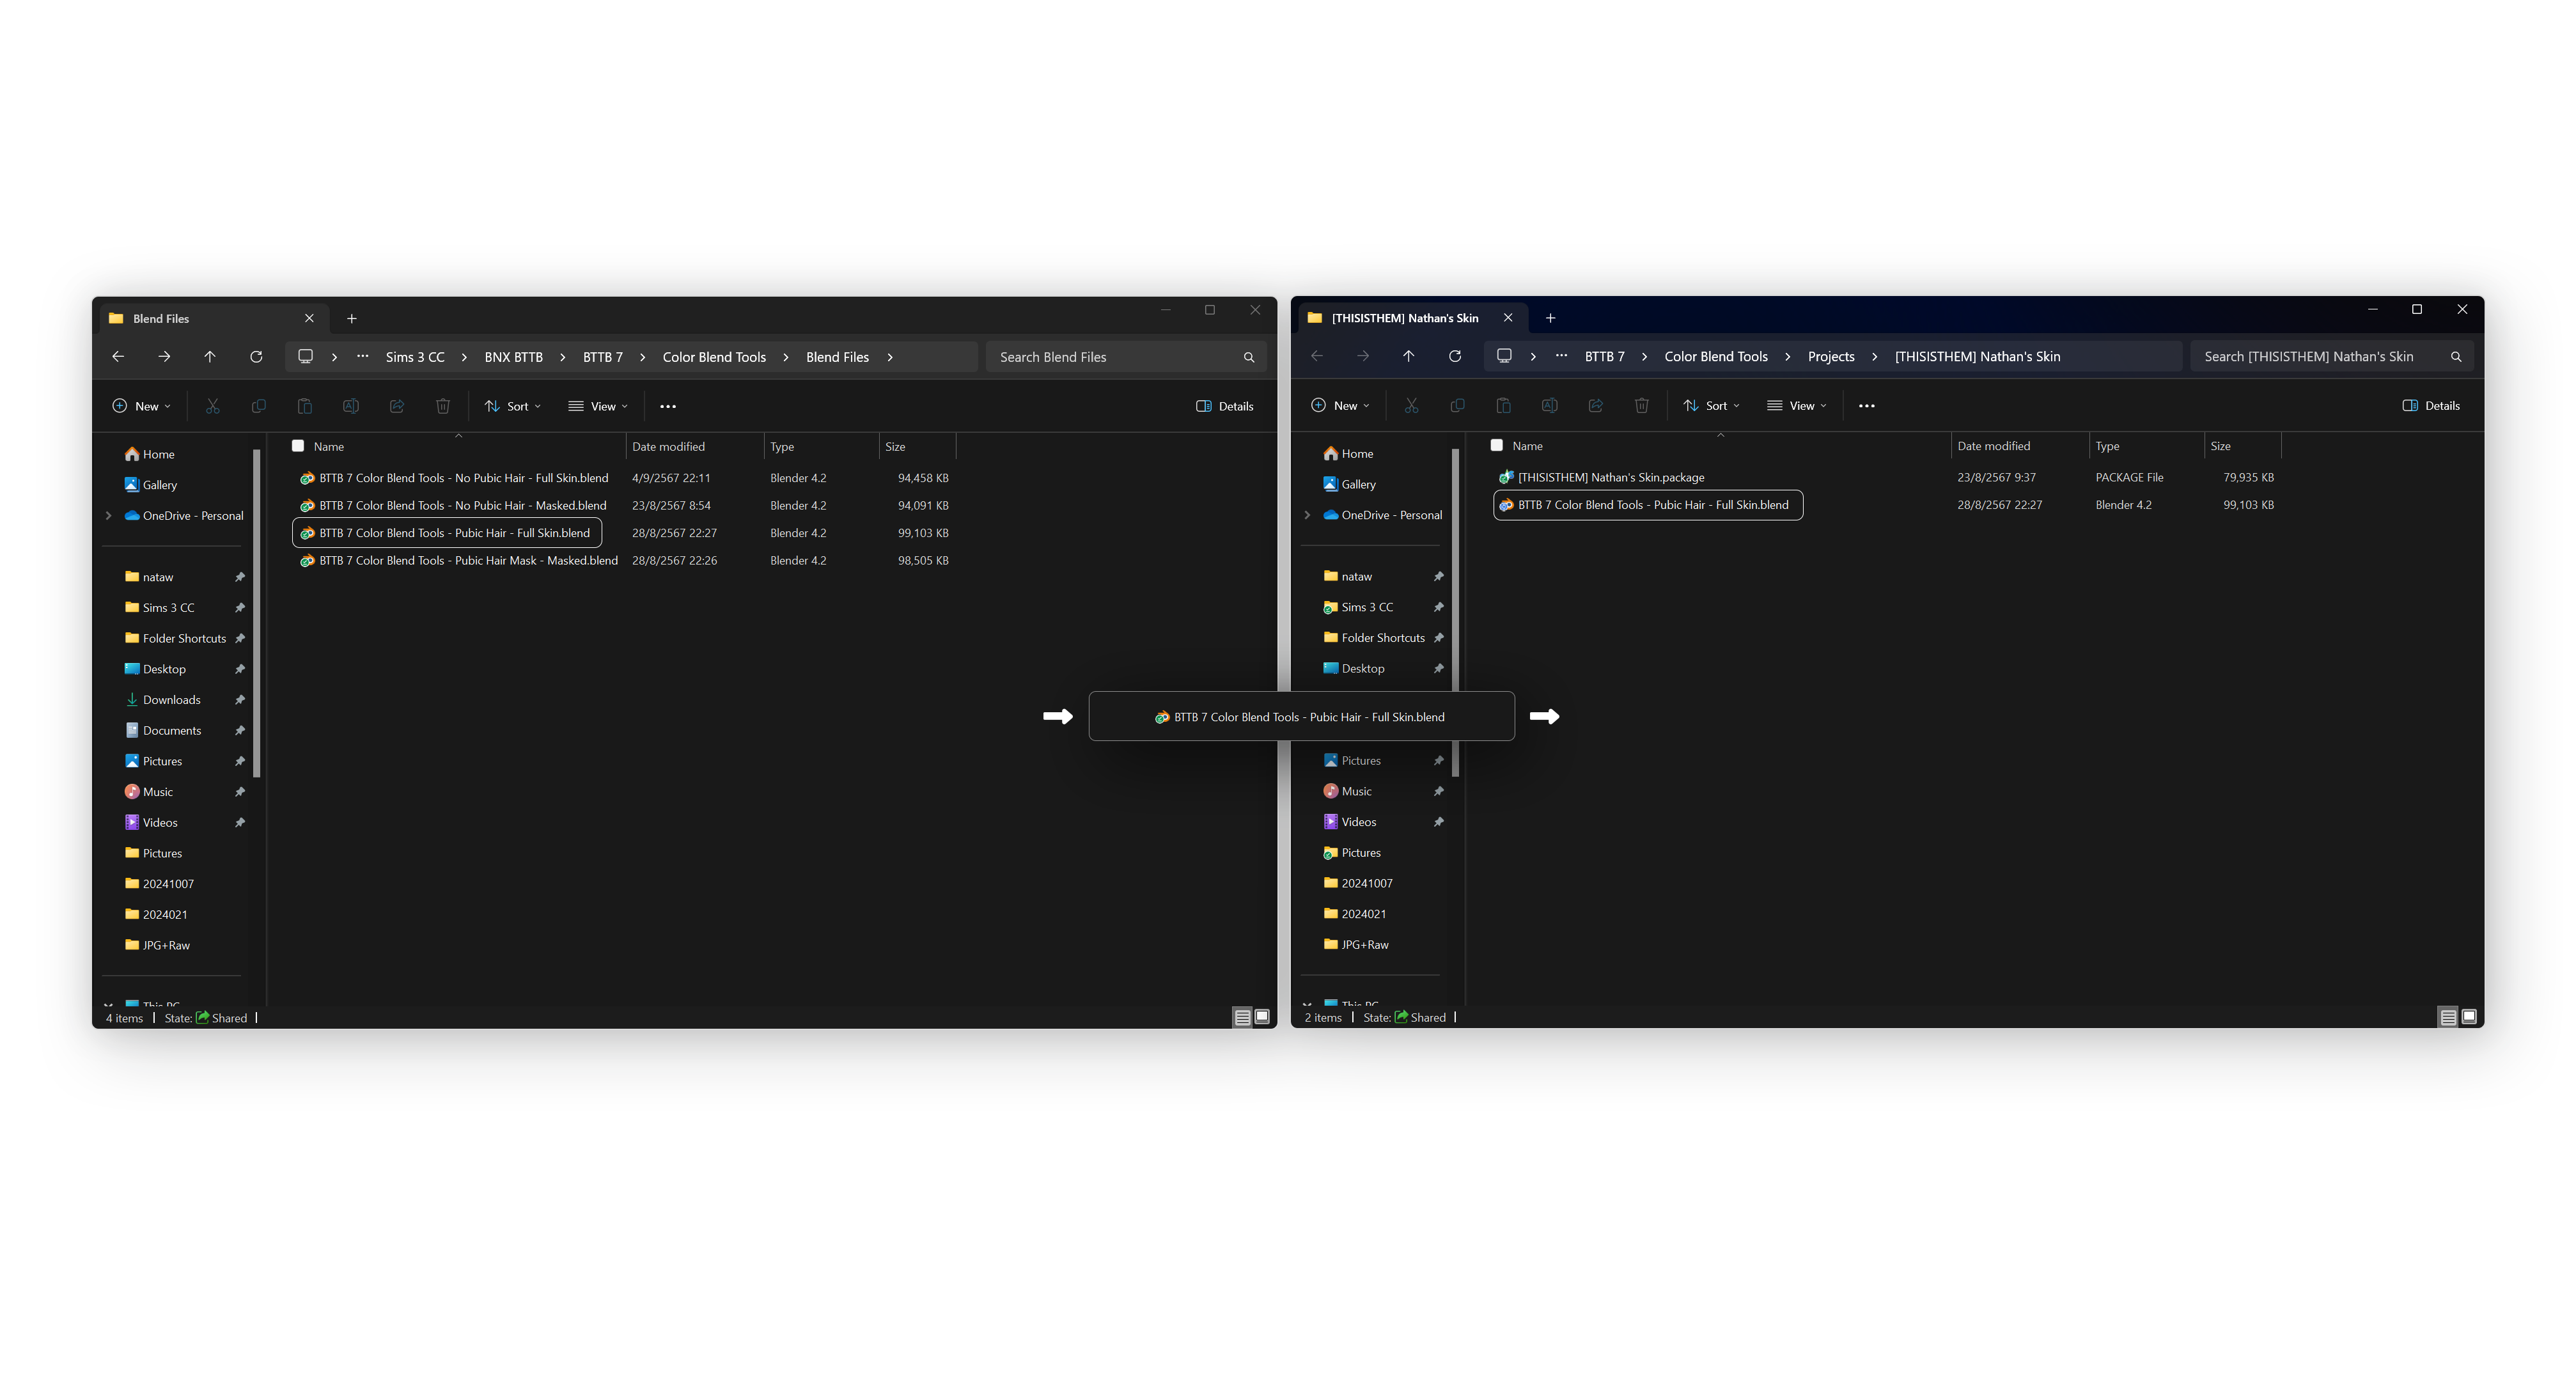
Create a new folder and copy one of the .blend files into it. Also, copy your skin's
.package file into this folder.
Step 3: Extract Skin Files
- Open your copied skin's
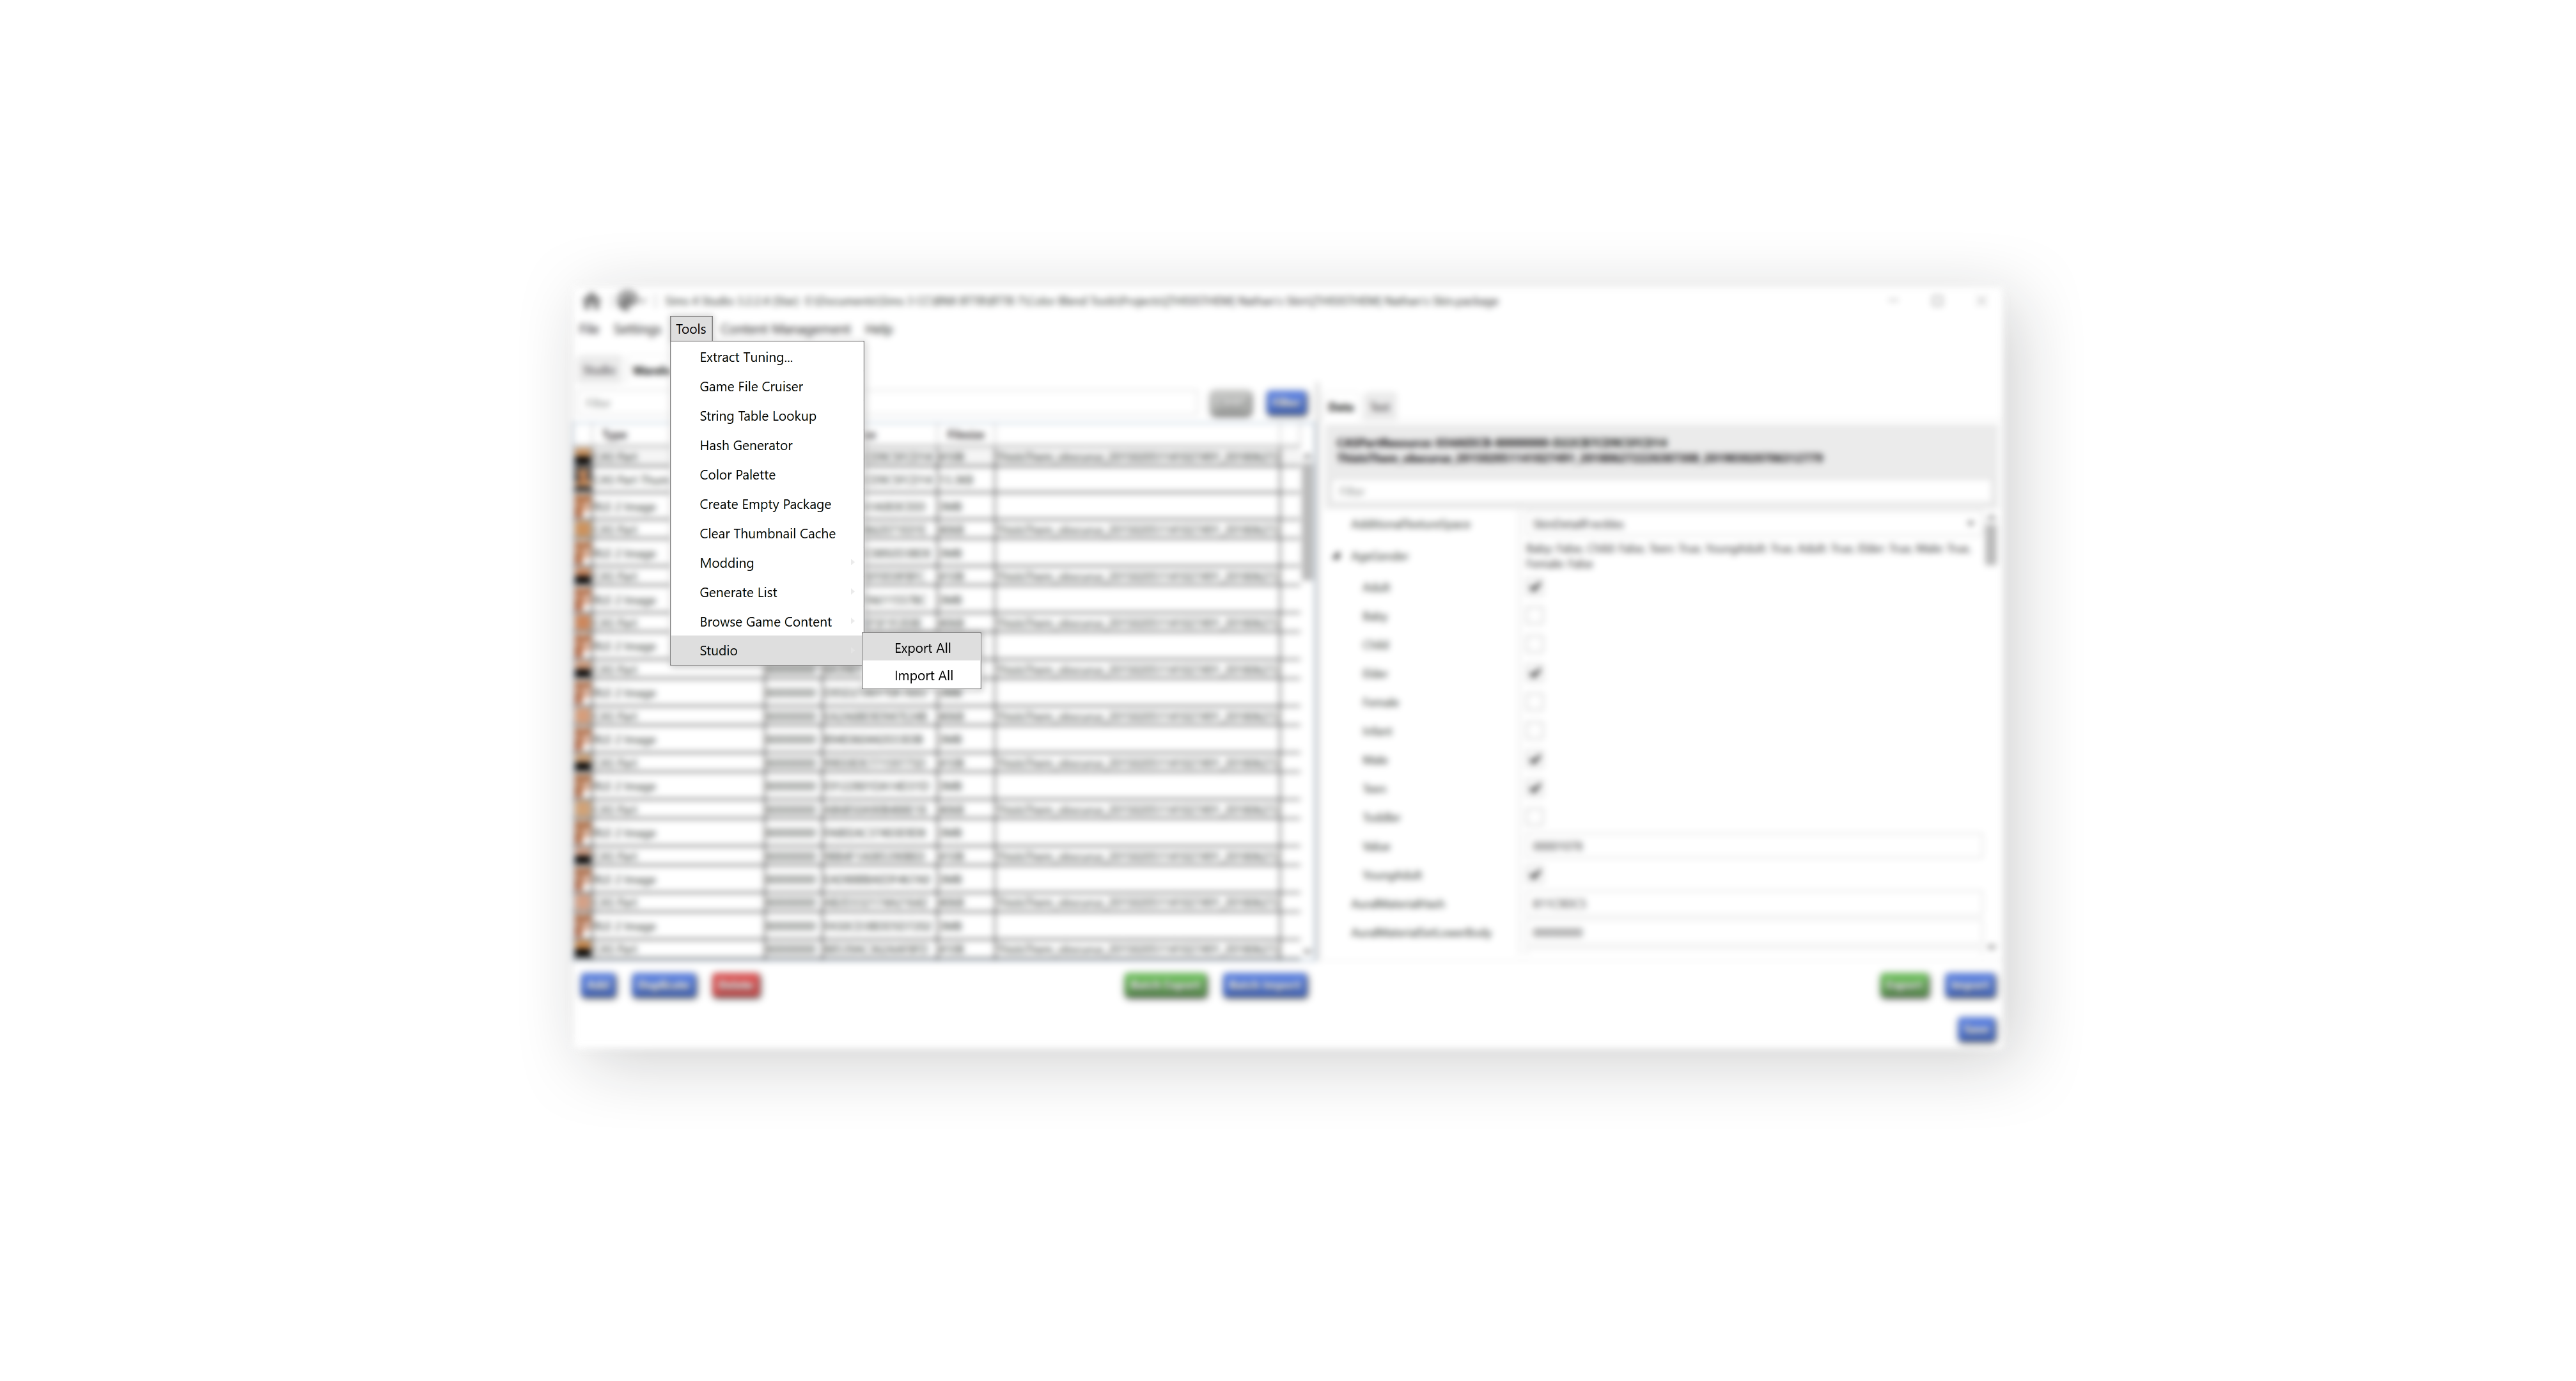
.packagefile with Sims 4 Studio. - Navigate to Tools > Studio > Export All.
- A new folder named "yourskinResources" will be created.
Step 4: Run the Converter
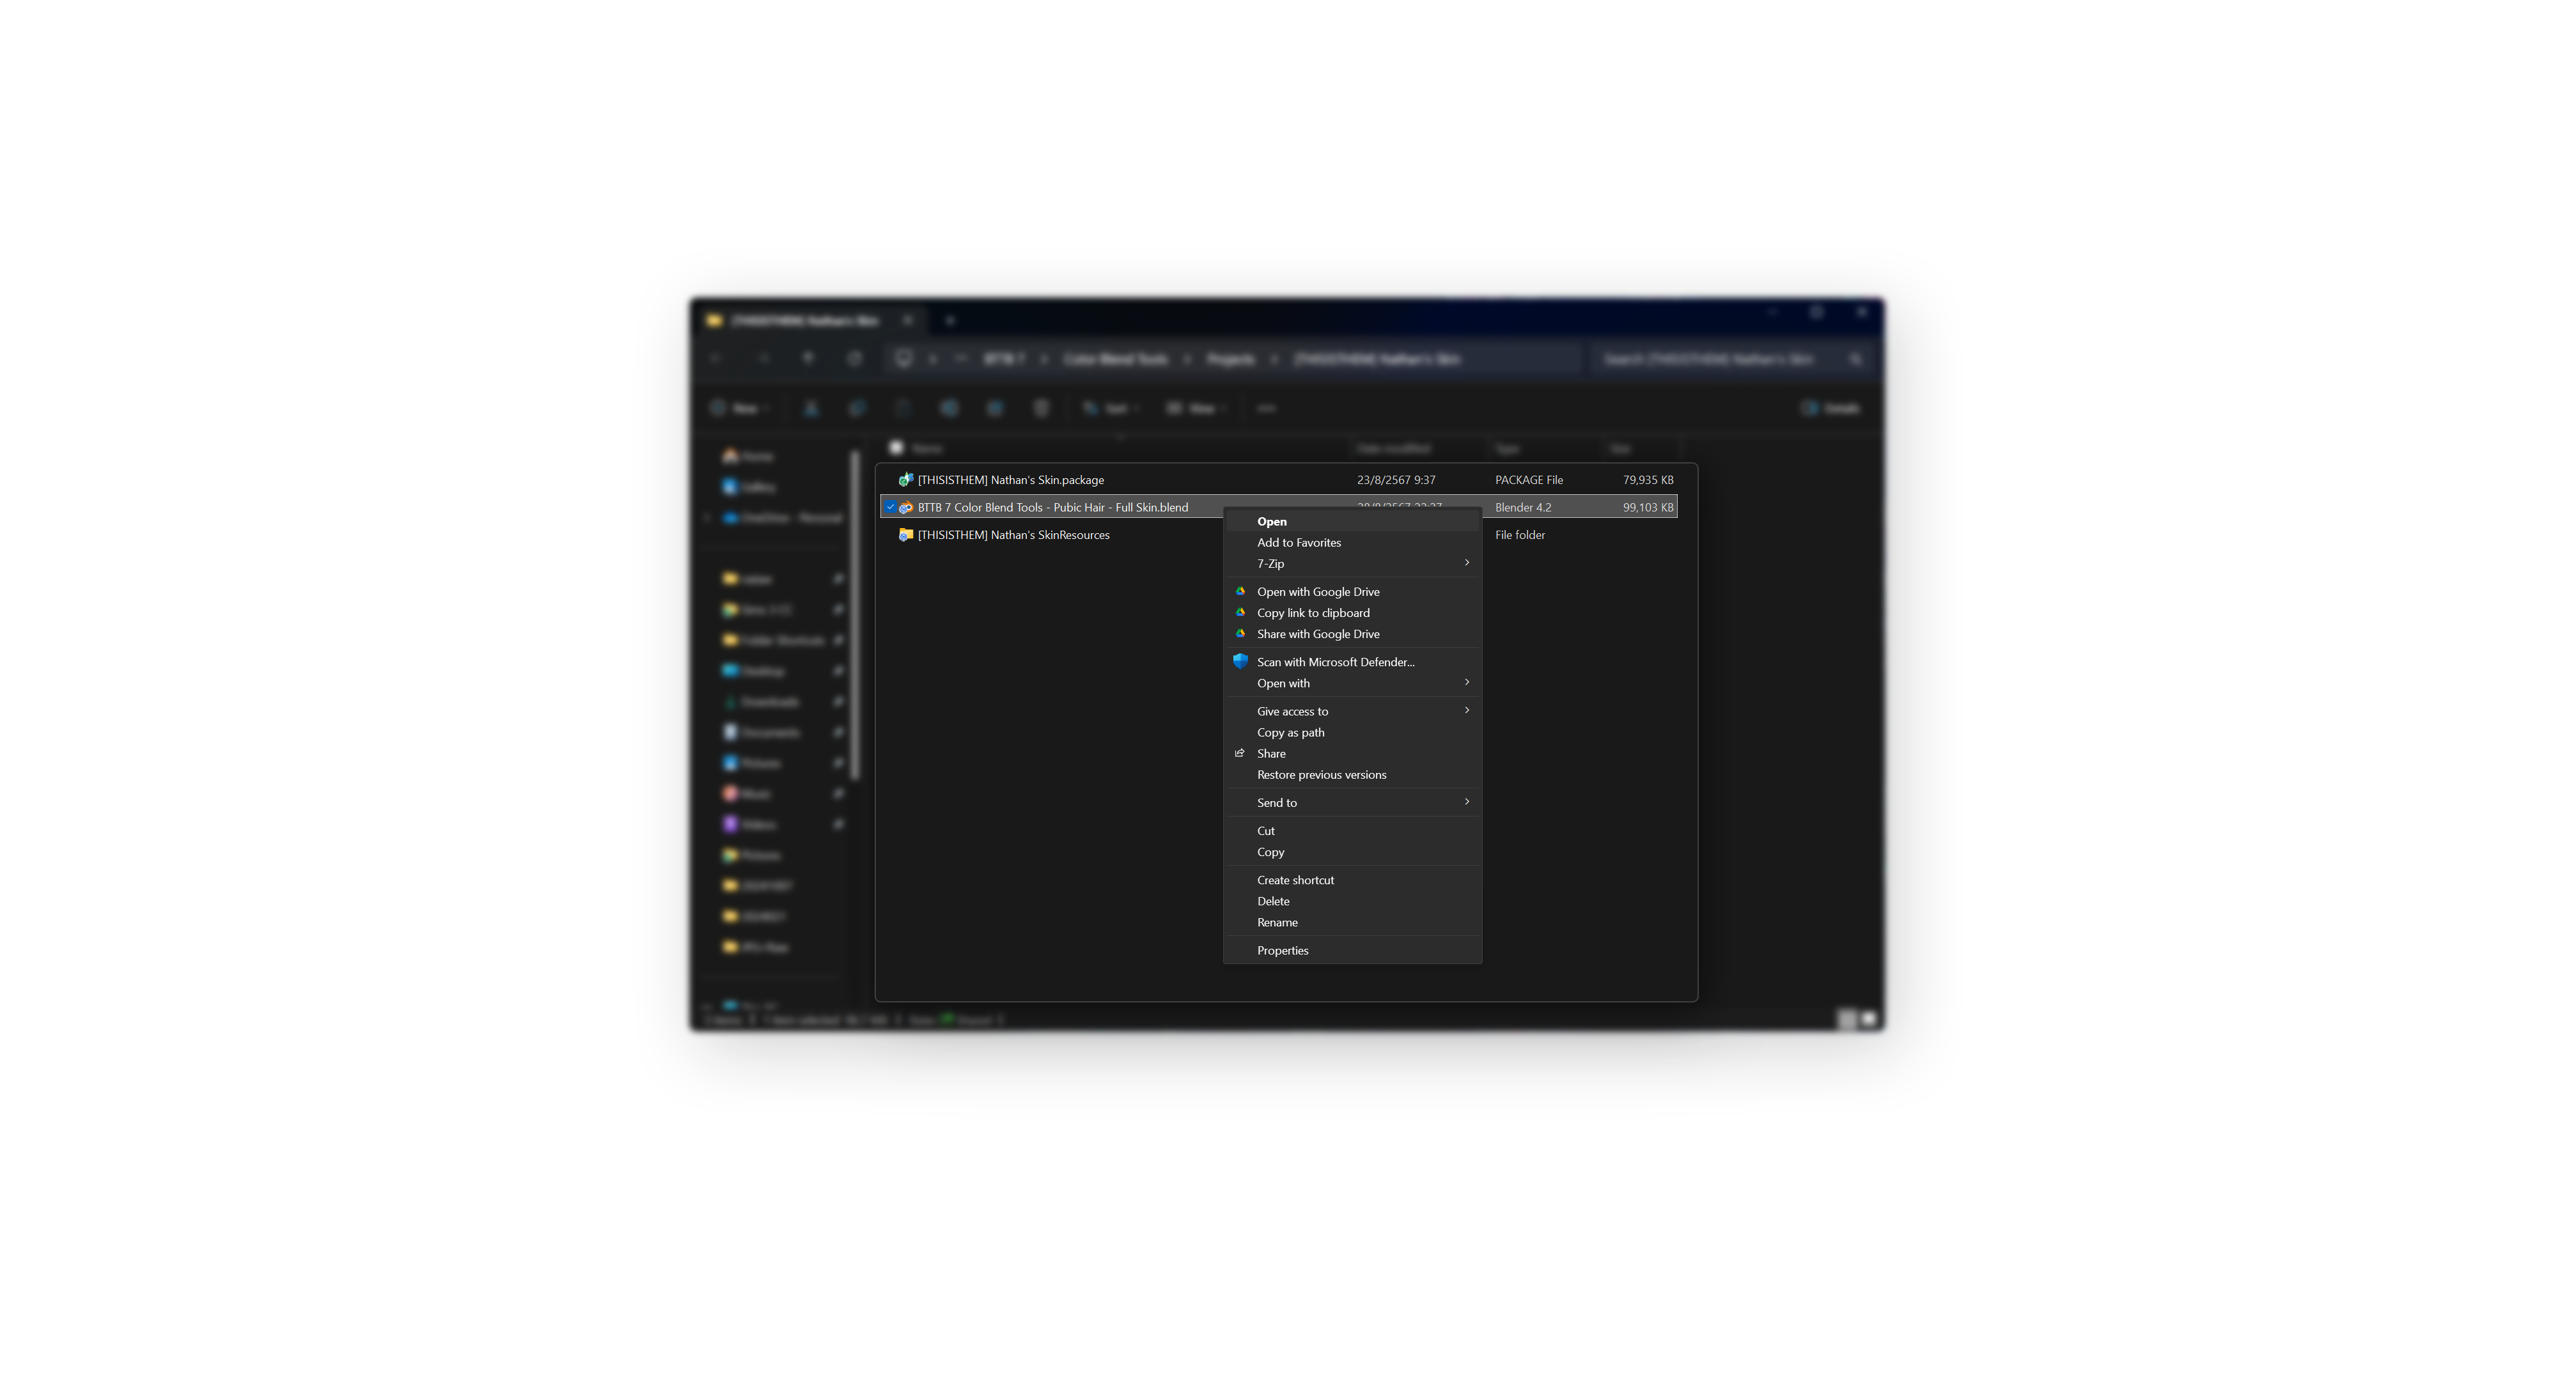
- Double-click the copied
.blendfile to open it in Blender. - If prompted, allow the script to execute by clicking "Allow" or "OK".
- Blender may freeze during the conversion process. Wait for it to finish.
Step 5: Import Converted Skin Back into Your Package File
- Open your copied skin's
.packagefile with Sims 4 Studio. - Navigate to Tools > Studio > Import All.
You're Done!
Your Alpha male skin should now be converted to support BTTB 7. If you encounter any issues, feel free to ask for help.